Switching web hosts can feel intimidating—especially when you’re worried about website downtime, SEO impact, or broken functionality. The good news is, with the right steps and timing, you can migrate your website to new hosting without any downtime.
This guide walks you through a step-by-step method to safely transfer your website in 2025—whether it’s WordPress, HTML, or custom-coded.
Why Do People Migrate to New Hosting?
Businesses and bloggers often move hosting for:
- 💸 Better pricing or long-term plans
- ⚡ Faster page load times (SSD, CDN)
- 🛡️ Improved security & backups
- 🧰 Enhanced support & features
- 🌐 Need for Indian or global data centers
If your current hosting is slow, unreliable, or expensive, it’s time to switch.
Before You Start: What You’ll Need
Here’s a checklist to prepare for the migration:
- ✅ Access to your current hosting account (FTP/cPanel)
- ✅ Access to your domain registrar
- ✅ A new hosting account with login details
- ✅ Backup plugin or manual backup (if using WordPress)
- ✅ Email backup (if emails are hosted on the old server)
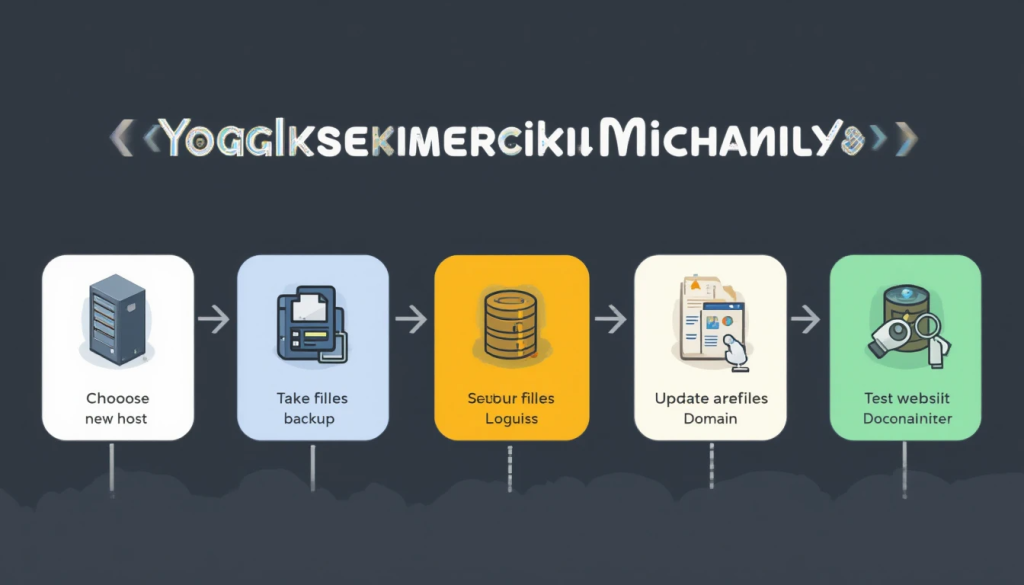
Step-by-Step Guide to Migrate Website Without Downtime
🔹 Step 1: Choose Your New Host
Pick a new hosting provider that meets your speed, budget, and support requirements. Look for:
- 99.9% uptime guarantee
- SSD storage
- Free migration support (offered by many hosts)
- Indian servers (if targeting Indian traffic)
- WordPress compatibility (if using WP)
💡 Popular hosting options: Hostinger, Bluehost, A2 Hosting, SiteGround, and Cloudways.
🔹 Step 2: Take a Complete Backup
Back up your entire site, including:
- Files (HTML, CSS, PHP, etc.)
- Databases (MySQL)
- Images and uploads
- Plugins and themes (if on WordPress)
You can use tools like:
- UpdraftPlus (WordPress)
- All-in-One WP Migration
- Manual FTP + phpMyAdmin for custom sites
🔹 Step 3: Upload Files to the New Host
There are 2 ways:
✅ WordPress Sites
- Use migration plugins
- Or manually upload files via FTP
- Import the database using phpMyAdmin
- Update wp-config.php with new database credentials
✅ Static Sites (HTML/CSS)
- Upload files using File Manager or FTP (like FileZilla)
🔹 Step 4: Update Domain DNS Records
To connect your domain with your new host:
- Login to your domain registrar (GoDaddy, Namecheap, etc.)
- Update the nameservers provided by your new hosting provider
- Example:
ns1.newhost.comns2.newhost.com
⚠️ DNS propagation takes 4 to 24 hours, but your website remains live during this process if you delay nameserver switch until setup is complete.
🔹 Step 5: Test Everything on the New Host
Before updating DNS, test your new site using:
- A temporary URL (provided by the new host)
- Modify your hosts file to preview the site locally
- Check:
- Pages load properly
- Forms work
- No broken links or missing media
🔹 Step 6: Point Your Domain to the New Host
Once you’re confident that everything is working fine:
- Change the DNS records at your domain registrar
- This makes the domain start pointing to the new server
- Keep the old host active for 48–72 hours during propagation
✅ With proper overlap, users won’t notice any downtime.
🔹 Step 7: Monitor and Final Checks
After migration:
- 🔍 Check site speed
- 🔧 Fix any 404 errors
- 📧 Reconfigure email accounts if hosted on the old server
- 🛑 Cancel the old hosting only after confirming everything is working fine
Bonus Tips for Zero Downtime Migration
- 👨🔧 Use hosting with free migration support (many do it for you)
- 📆 Migrate during low traffic hours (e.g., late night)
- 🕸️ Backup old DNS records before editing
- 🧪 Use tools like GTmetrix and Pingdom to compare performance
- 🗂️ Use a staging environment if available
Common Mistakes to Avoid
- ❌ Updating nameservers before uploading files to the new host
- ❌ Not backing up emails if hosted on the old server
- ❌ Ignoring database import errors
- ❌ Cancelling the old host too soon
Final Thoughts
Migrating a website without downtime is 100% possible—even for beginners. With careful planning, backups, and DNS management, your visitors won’t even notice the switch.
Whether you’re upgrading performance, reducing costs, or shifting to a better support team—do it smartly, not hastily.